
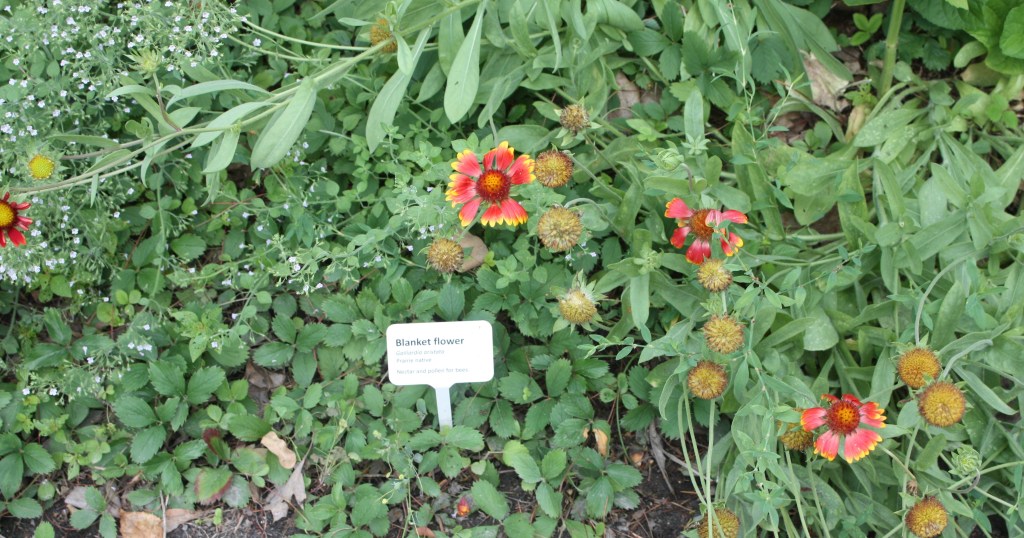
In 2017, before I even finished digging out the grass for our pollinator garden, I put up a pollinator habitat sign. I felt a bit strange doing something so different with our front yard, so the sign explained the method to my madness. I was pleasantly surprised when so many people stopped to talk about my project. They offered words of encouragement and had lots of questions.
Since I couldn’t always be out there to answer questions, I decided to add labels to identify each plant and explain its role in the garden. I wanted neighbours to know why I had included wild plants they might consider weeds. (I also created a how-to brochure that I give away in the garden.)
After some trial and error, I came up with a process for making easy-to-read, durable labels. A few visitors have asked how I make them, so here’s how I do it.
Choosing labels
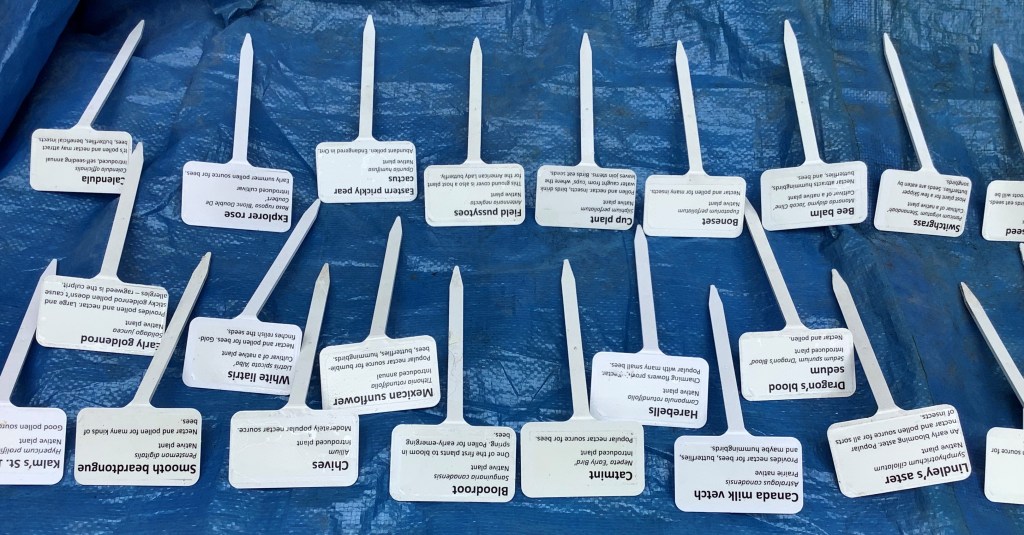
I experimented with a few different kinds of plant tags. While I’m not a fan of plastic, it does seem to be the easiest material to work with, and plastic tags are readily available. I settled on heavy-duty, large, white tags (Angled Head Plant Stakes) from Veseys in Charlottetown, PEI.
Adding text
I tried writing on the tags with various pens, markers, and grease pencils. These labels were all failures. Either my writing was barely legible, I couldn’t fit much text on the tag, or it just wore off. I now make the labels on the computer. These tags look more professional too.
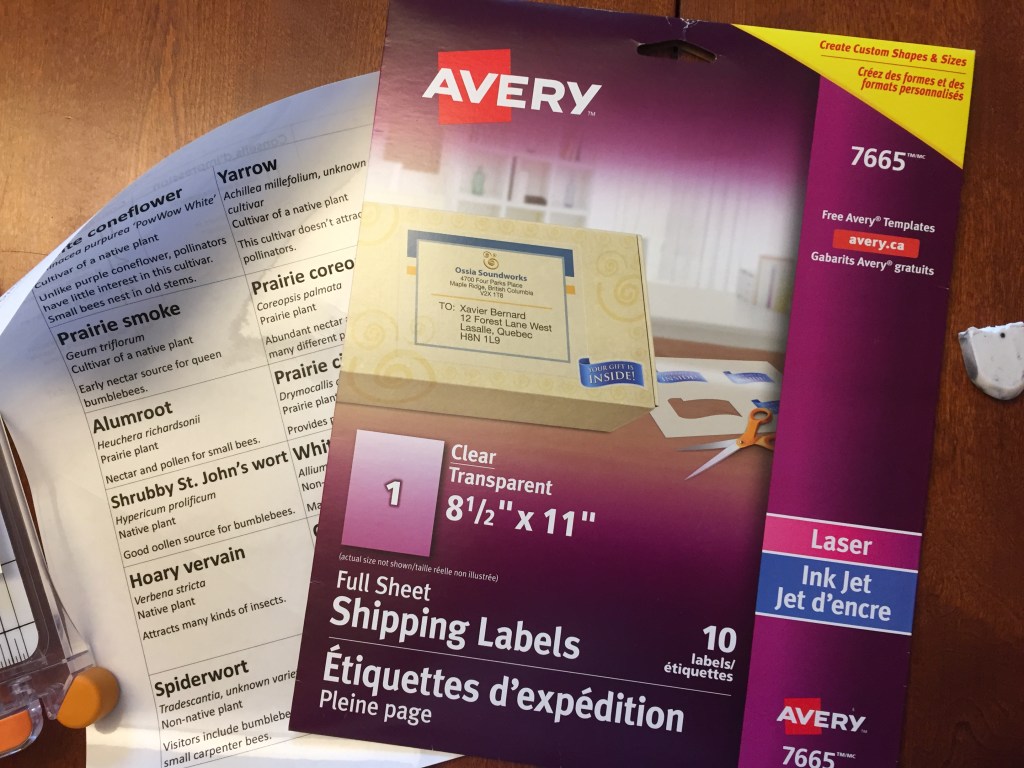
First I measured the tags and created a table with cells of a similar size. For each plant, I include the common name, Latin name, whether the plant is native, and a brief description of how the plant benefits pollinators.
I then print the text onto sticky-backed paper (Avery Shipping Labels).
I cut out the labels and apply them to the tags.

Weather-proofing the labels
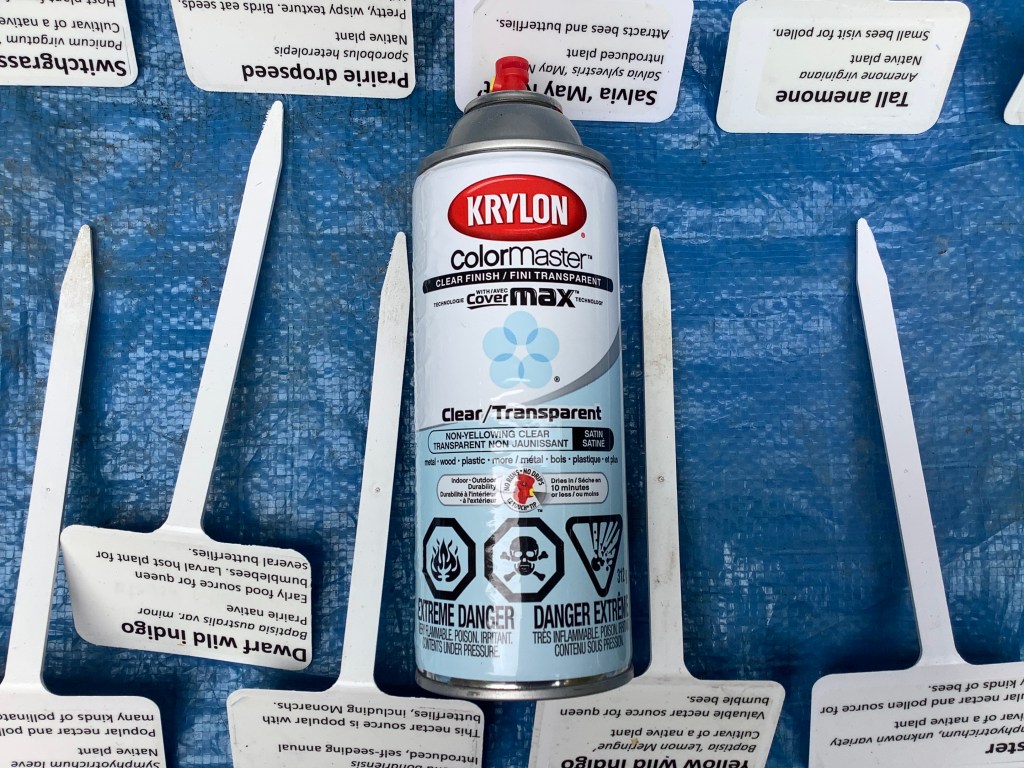
Now comes the most important part — weather-proofing the labels. Without a protective coating, the text wears off, and water and dirt work their way between the tags and the sticky label. The only way I’ve found to seal the tags is using some kind of nasty spray. I do the spraying outside to ensure that my work area is well-ventilated.
The best coating was automotive clear-coat. When my husband sprayed one of his restored pinball machine playfields, I sneaked in a batch of tags to be sprayed as well. Since I’m making new tags each year for new plants, I had to find another solution for protecting my tags at other times. For now, I’m using Krylon clear, indoor-outdoor spray from a hardware store. It takes a long time because I apply numerous coats and it takes a while for each coat to dry.
Multi-level labels
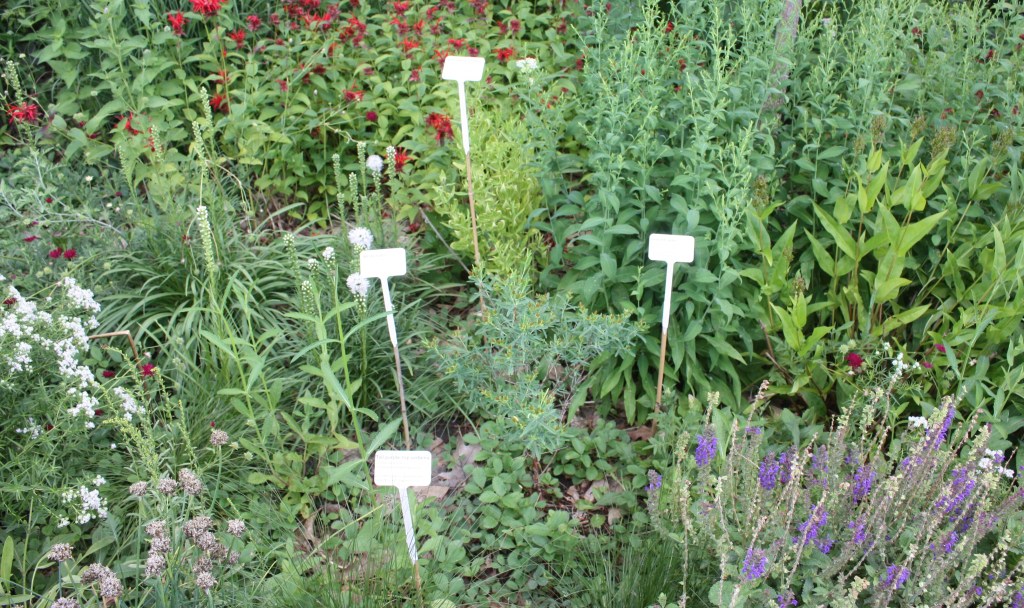
To label plants close to the garden edges, I just stick the tags into the ground. As foliage and flowers grow, the tags for plants further back in the flower bed become obscured. To raise the tags up into view, I attach them to bamboo stakes using white duct tape.
I’m already planning the next batch of labels. I’ve expanded the front garden by removing and smothering the last of the lawn. I’ll be using plants for dry, sunny conditions that are all about 2 feet tall or less. More on that in upcoming blog post.

Interesting, as I want to label my Bonsai and nothing lasts so far.
LikeLike
Are you still using this process? How long do the tags last? Would love to learn from your experience since this blog was written.
LikeLike
I am still using this process. The labels that I coated with automotive clear coat seem indestructible. Other coatings were less effective at keeping rain and dirt from getting under the stickers.
Someone recommended using silicone. I assume this is the same stuff you use in showers/bathtubs. You’d have to spread it evenly somehow.
LikeLike
Ceramic labels will last 1000 years, with no toxic spray. Find someone who makes pottery and ask them to make some “sandwich slabs” of dark colored clay with a coat of light slip over, and cut up to about 2×3″. When the clay is leather-hard, plant names can be written through the slip to show the darker clay. Ask that a hole be made for a wire to hang on the plant or on a stake. These don’t take up much room in a kiln because they can sit under the rim of large bowls to be fired.
LikeLike
That’s a great idea if you can find someone to make them. In Ottawa’s climate, they’d have to be brought inside for the winter so they don’t crack.
LikeLike
I’d be interested to know how the plastic itself holds up. I use the metal “rose” plant markers from Lee Valley, and even those get damaged by the squirrels – plastic tags in my yard actually pulled out and strewn about by the squirrels (I guess they don’t like the feel of the metal ones on their teeth). I use the Avery 94200 weather resistant labels and run them through a laser printer. 3 years in and they still look great – no fading or peeling. Unfortunately you have to order them from the US (not available in Canada) but they’ll send you 1 sheet or 100 sheets – whatever you need.
LikeLike